

There I was, merrily building a signal box for myself, when all of a sudden I found myself offering to build a modern-day signal box for a fellow model rail forum member - he'd pay of course, and provide materials, so off I set.
He sent me a wealth of current photographs as he only lives but 5 minutes away from the prototype, and I had phopgraphs from every angle imaginable, winging their way to me via the internet.
I started of course, with my trusted foamex shell, selecting 2mm thick for the purpose of bracing, and then wrapped this with Embossed brick plasticard (SE Finecast Flemish Bond), and there was the brick base complete. Lintels and cills were added with pieces of foamex, let into channels I'd cut in the plasticard/foamex

To fix on the brick sheet, I used a long piece, cut to the height of the base, and then fixed it in place a side at a time with a PVC weld adhesive used for fixing pipes together. Once one face was stuck, I scored down the back, and folded it around the foamex shell and glued it in place. The sheet finally joined at the back, where I figured the seam wouldn't be too noticeable as the model, when in situ on my customer's layout, will be but an inch or two from the back scene, and not visible unless it's picked up.

Windows were constructed by printing out the window frames onto signwriters vinyl, then sticking the complete unit to a piece of thin clear pvc.
I devised this method when building the signal box for my own layout, which has been put on the back-burner...

This one is a bigger frame, but what I've done is stuck the cut vinyl windows to the pvc, then added styrene strip (40thou x 40thou) around the frames to give it bulk. The whole window unit is then cut out, and affixed to the base, with 2.5mmx2.5mm strips as corner posts.
Unfortunately I didn't take many great interim pictures of the build, but here's a quick ref pic I sent my customer from the dash of my car, whilst I was waiting to go to the Dentist's. Here I've added a roof from foamex, tiled with individual pieces of paper, added guttering and bargeboards, and started on the lean-tos...

The lean-tos were made from plasticard, scored to form planks. I tried some Wills Boarding, but it was just way too thick to deal with.

For the security screens, my customer had got some etches from Shawplan - a bit big in scale if truth be told, but I figured (and he agreed) that you wouldn't see the mesh at true scale, and for what it was, this was a great representation.

I tried the raw brass versions for size before emailing for approval.
Approved they were, and were given a fine spray with a grey enamel from a Rattlecan
I made up a framework for the door screen from thin styrene strip and glued it to the mesh with Solvent, before spraying the whole thing, and it was then glued in place with some 40thou strip for beams. The lean-to roofing felt, seen here is masking tape fixed on to a piece of 30thou plasticard with the aid of some MEK to help it stick more permanently.
The steps are scratch built from rod and strip, whereas the security fencing is a proprietary product sent up by my customer, as is the barbed wire


The roof was given a coat of grey emulsion, before several washes of black to pick out the individual tiles. A lighter grey dry brush followed to bring out some weathering highlights. Finally some moss and lichen was added by first dabbing spots of green/white and then dabbing pva in along the roof line and down both pitches before adding moss-coloured flock.

The pipework was an absolute bit of indulgent fun, as it will never be seen from its backboard location!

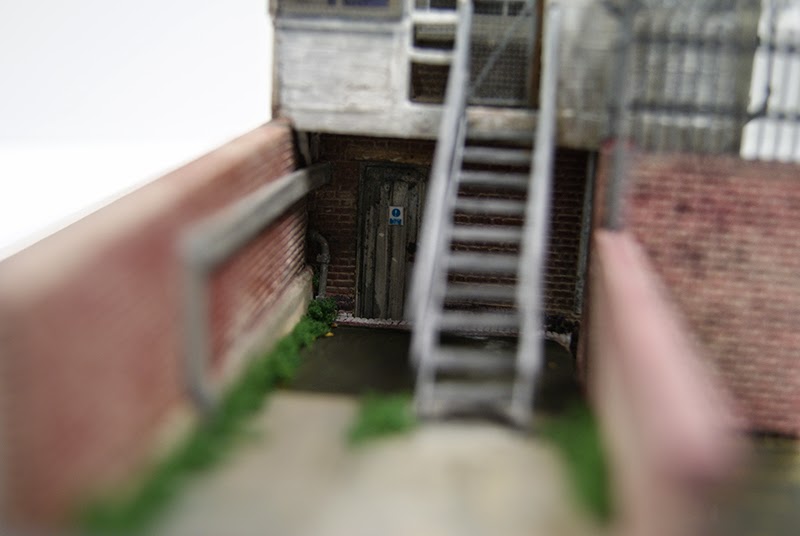
Extra detailing included pipe trunking and a warning sign for the padlocked locking room door - again not seen unless you stick your eye up to the steps...
And finally a demo shot put on to a hastily cobbled together temporary platform to give it a sense of location

talking of which, just as I'd photographed the model, mu customer posted up a near identical angle of the real thing, so I just had to photoshop it in...

